Puzzle de la Torre Roja
Cinco puzzles cercanos alimentan la Torre Roja. Su llave abre la Sala de Mapas: un mapa plegable, una brújula y un diorama completo de la isla.
La Torre Roja es la torre que conviene hacer temprano — no porque el juego te obligue, sino por lo que le entrega a tu grupo después: la Sala de Mapas, un mapa plegable y una brújula. Big Walk mantiene sus torres abiertas en casi cualquier orden, pero la Torre Roja está justo al lado de donde empiezas, sus cinco puzzles son aptos para el inicio del juego, y su recompensa es el kit de navegación que hace que toda exploración posterior — incluido el puzzle de las coordenadas 4166 1899 — sea dramáticamente más fácil. Aquí está el recorrido completo: dónde está la torre, los cinco puzzles que la alimentan y exactamente cómo su llave se convierte en el mapa.
Una orientación rápida sobre los objetos involucrados. Cada uno de los cinco puzzles cercanos entrega una recompensa de puzzle — un pequeño coleccionable rojo que tu grupo lleva de vuelta a la torre. El juego nunca los nombra oficialmente; el redactor de PC Gamer los llama "nubbins", otros jugadores dicen frijoles rojos o calabazas. Deposita los cinco en la cima de la Torre Roja y la torre libera su llave, y esa llave es lo que físicamente abre la Sala de Mapas.
¿Qué desbloquea la Torre Roja?
Toda la cadena de recompensas de la Torre Roja se ve así:
- La Sala de Mapas — una sala que contiene un diorama a escala de toda la isla, con todo lo que tu grupo ya completó marcado con una bandera.
- Un mapa plegable y una brújula — sobre un banco en la Sala de Mapas, ambos transportables, para poder navegar en el campo en lugar de correr de vuelta al diorama.
- El logro/trofeo Big View — abrir la puerta de la Sala de Mapas lo completa (según el recorrido de GameRant).
- Alfabetización en coordenadas — una vez que tienes el mapa, la cuadrícula numerada de la isla se vuelve legible, que es exactamente la habilidad que el puzzle numérico 4166 1899 pone a prueba.
Ese último punto es el enlace práctico: la solución de PC Gamer al puzzle 4166 1899 dirige explícitamente a los jugadores por la Torre Roja primero, porque el mapa que otorga es uno de solo dos objetos capaces de decodificar esas coordenadas (el GPS cerca de la torre verde es el otro). Haz la Torre Roja y el infame puzzle numérico deja de ser un muro.
¿Cuántos puzzles de la Torre Roja necesitas resolver?
Cinco. Desde la cima de la Torre Roja puedes mirar hacia la costa y literalmente ver las cinco ubicaciones de puzzles a la vez — el juego las agrupa deliberadamente. Cada una entrega una recompensa de puzzle, y la terminal en la cima de la torre quiere las cinco antes de entregar su llave.
GameRant nombra los cinco así:
- El Laberinto Amarillo
- La Sala del Botón Verde
- El Cañón con Temporizador de la Estación de Tren
- La Cancha de Básquetbol
- El puzzle de Gestos del Mirador de la Montaña
Un recopilatorio de guías de la comunidad en el subreddit r/BigWalk cubre el mismo bloque bajo "How to Unlock the Map Room (Red Tower puzzles)" y igualmente cuenta cinco puzzles cercanos. No se pudo volver a consultar Reddit directamente para esta página, así que tómalo como el encuadre de una guía comunitaria más que como un recuento verificado de forma independiente — PC Gamer y GameRant, que sí se revisaron por completo, coinciden en cinco.
Cómo completar los puzzles de la Torre Roja
Las soluciones paso a paso de abajo siguen el recorrido para dos jugadores de GameRant — publicado el 4 de agosto de 2026. Las ideas funcionan para grupos más grandes, pero los detalles pueden cambiar ligeramente con más jugadores.
Puzzle 1: El Laberinto Amarillo
- Dónde encontrarlo: La estructura del laberinto amarillo, una de las cinco visibles desde la cima de la torre hacia la costa.
- Qué necesitas: Dos jugadores, un temporizador de cuerda, una olla verde adentro.
- Qué hacer: Divídanse en la entrada — un jugador toma el camino izquierdo, el otro el derecho. El jugador del camino izquierdo recoge el temporizador de cuerda y corre al agujero más cercano que conecta los dos caminos, pasando el temporizador al jugador del camino derecho, quien lo lleva a toda prisa a la olla verde y lo deja caer antes de que se agote la cuerda.
- Consejo útil: Acuerden qué agujero usar antes de empezar — perder el relevo mientras el temporizador corre es el fallo clásico aquí.
Puzzle 2: La Sala del Botón Verde
- Dónde encontrarla: La estructura de la sala del botón verde entre las cinco ubicaciones de la costa.
- Qué necesitas: Un jugador dentro de la sala cerrada, uno fuera; walkie-talkies muy recomendados.
- Qué hacer: Un jugador entra a la sala y cierra la puerta. La consola dentro de la sala ilumina un botón; el jugador de adentro dice en voz alta exactamente cuál botón al jugador de afuera, quien presiona el botón correspondiente en la consola exterior. Repitan para cada indicación.
- Error común: Indicaciones vagas. El jugador de afuera solo puede ver lo que le digas — nombra el botón con precisión, y usa un walkie-talkie para que las paredes de la sala no se coman tu voz.
Puzzle 3: El Cañón con Temporizador de la Estación de Tren
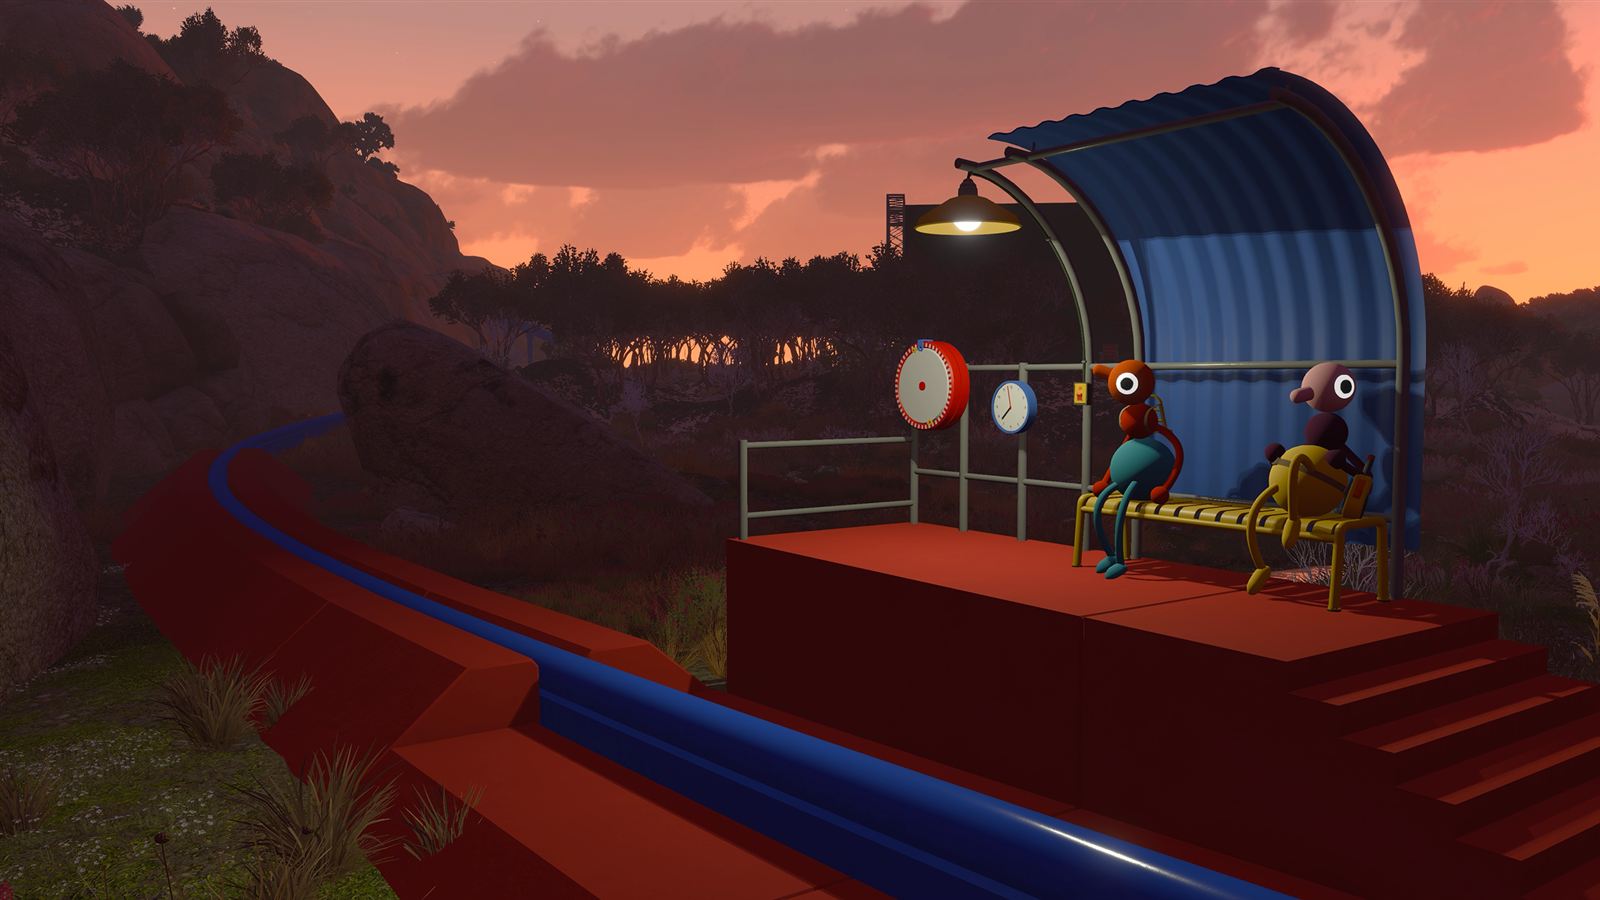
- Dónde encontrarlo: La estación de tren — sí, el mismo tren que el juego entero eventualmente desbloquea.
- Qué necesitas: Dos jugadores, un cañón, un temporizador de cuerda, otra olla verde.
- Qué hacer: Un jugador se queda en la plataforma amarilla y dispara el cañón, que lanza el temporizador de cuerda a gran distancia. El otro jugador persigue el temporizador antes de que llegue a cero, sube a la roca frente a la plataforma amarilla, y lanza el temporizador de vuelta por encima, para que el primer jugador pueda meterlo en la olla verde a tiempo.
- Consejo útil: Observa hacia dónde apunta el cañón antes de que dispare y empieza a moverte temprano — el lanzamiento de vuelta es más fácil si ya estás en la roca.
Puzzle 4: La Cancha de Básquetbol
- Dónde encontrarla: La cancha de básquetbol entre las cinco ubicaciones.
- Qué necesitas: Cualquier cantidad de jugadores; una pelota que se ilumina.
- Qué hacer: Toma la bombilla/pelota luminosa del suelo y énfrescala por el aro. Sigue anotando hasta que todas las luces se pongan verdes — entonces se libera la recompensa del puzzle.
- Error común: Pensarlo de más. De los cinco, este es el relajado.
Puzzle 5: El Puzzle de Gestos del Mirador de la Montaña
- Dónde encontrarlo: El mirador de la montaña — lleva prismáticos o un catalejo si los tienes.
- Qué necesitas: Dos jugadores, telescopios en el mirador, tarjetas de gestos, cinco plataformas distantes; walkie-talkies esenciales.
- Qué hacer: Un jugador se queda en el mirador y estudia las cinco plataformas distantes a través de los telescopios. El otro jugador viaja a cada plataforma, recibe el gesto correcto por indicación en voz alta, y lo construye con combinaciones de botones — por ejemplo brazo izquierdo arriba, brazo derecho arriba, agacharse — colocando la tarjeta del gesto correspondiente en el soporte.
- Consejo útil: GameRant señala que este es el más lento de los cinco. Los prismáticos ayudan al viajero a confirmar que está en la plataforma correcta antes de comprometerse con un gesto.
Cómo completar la Torre Roja
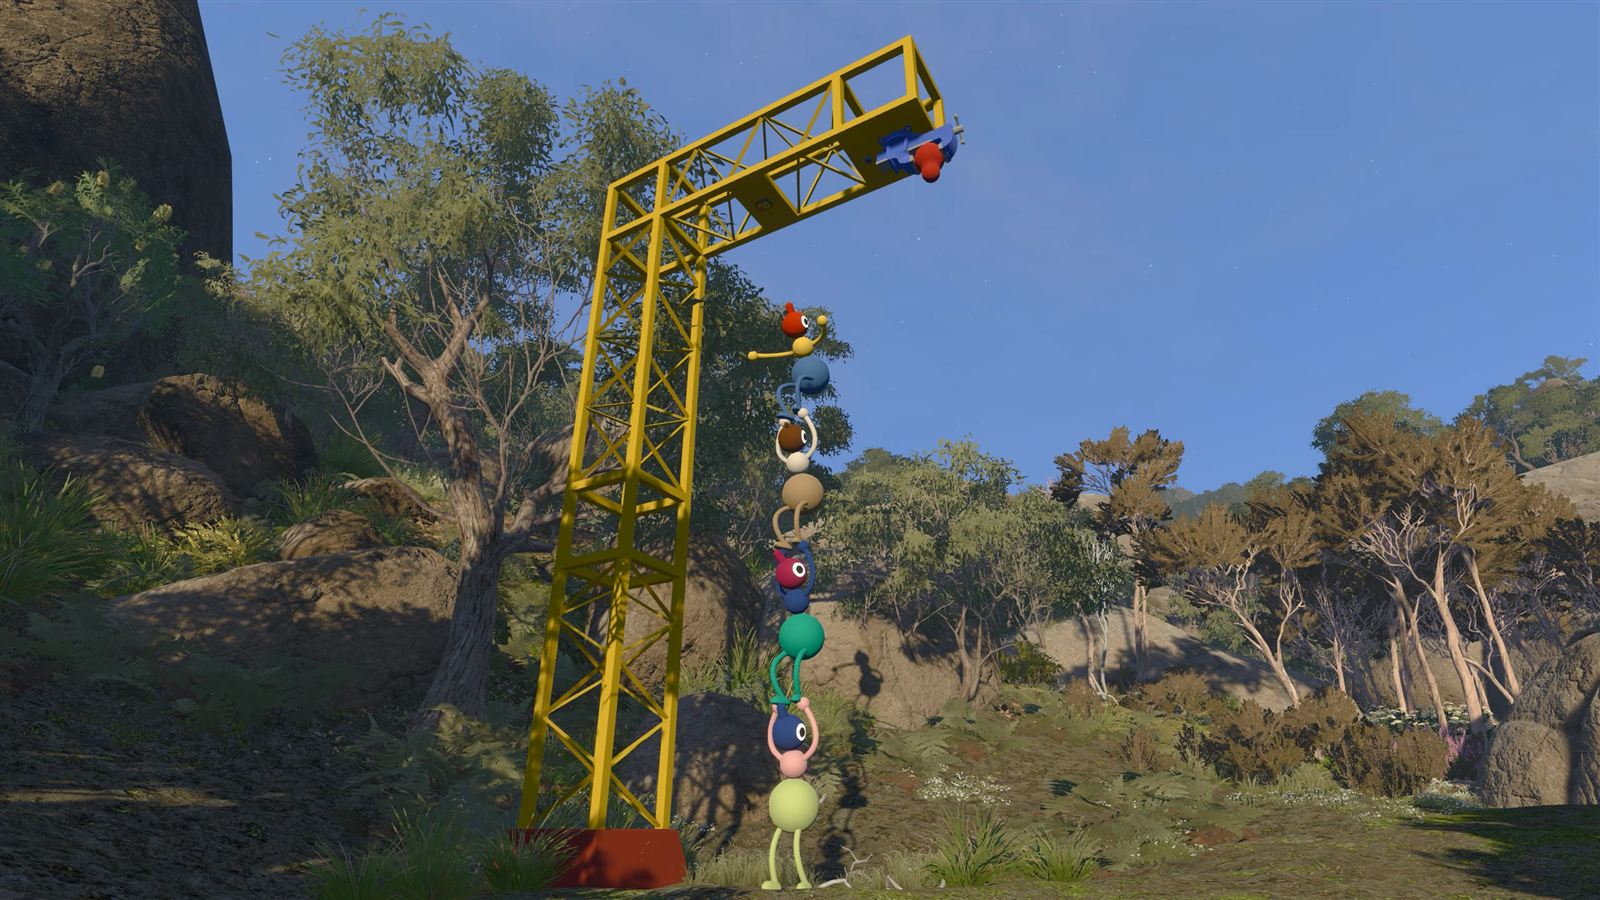
Con las cinco recompensas de puzzle en mano, la torre en sí se resuelve rápido:
- Sube a la cima de la Torre Roja y encuentra la terminal con la llave — el mismo tipo de instalación que en la zona inicial.
- Inserta las cinco recompensas de puzzle en la terminal. Según PC Gamer este es el paso de los "five nubbins on the red tower"; GameRant describe insertar los cinco objetos en la terminal superior — el mismo depósito, con otras palabras.
- Toma la llave liberada y baja.
La llave todavía no está terminada, eso sí — primero necesita moldearse (siguiente sección).
Cómo desbloquear la Sala de Mapas
La secuencia de llave a mapa, según el recorrido de GameRant:
- Empieza a limar la llave. Directamente frente a la entrada de la Torre Roja hay una ranura pequeña — inserta la llave para comenzar a desbastarla/limarla.
- Visita las limas restantes al bajar. Los artefactos de limado están alineados a lo largo del camino que baja hacia la zona del gimnasio — inserta la llave cuatro veces más, una en cada artefacto.
- Usa la llave terminada. La llave con la forma correcta abre la terminal en la cima del túnel azul con escaleras rojas.
- Entra a la Sala de Mapas. La puerta del túnel se desbloquea, y entrar a la Sala de Mapas completa el logro/trofeo Big View.
La ubicación de la sala se describe de dos formas compatibles en la cobertura: GameRant la ubica detrás de la puerta del túnel azul con escaleras rojas, mientras que PC Gamer simplemente dice que la sala de mapas se abre justo al lado del hub inicial — el túnel es la puerta del lado de la zona inicial en cuestión.
Qué obtienes de la Sala de Mapas
- El diorama de la isla — un modelo a escala de todo el mapa en el piso de la sala, con banderas marcando todo lo que tu grupo ya completó. También sirve como mesa de planificación: reúnanse alrededor y elijan el siguiente monumento.
- El mapa plegable — en un banco dentro de la sala; tómalo y llévalo. Muestra la cuadrícula de coordenadas numerada de la isla, la misma cuadrícula a la que se refieren los números del puzzle 4166 1899.
- La brújula — en el mismo banco, también transportable, para orientar el mapa en el campo.
Por qué importa esto: Big Walk sale deliberadamente sin pantalla de mapa y sin marcadores de misión, así que hasta que poseas estos objetos tu grupo navega por referencias y memoria. El mapa y la brújula reemplazan la adivinación con una referencia de cuadrícula real — que es precisamente por lo que el puzzle de las coordenadas 4166 1899 no tiene solución antes de este punto y es rutina después.
Por qué deberías completar la Torre Roja temprano
Para ser claros sobre qué es y qué no es una regla: el juego no exige la Torre Roja primero. Las guías coinciden en que las torres pueden hacerse en casi cualquier orden. Esto es consejo práctico, no una obligación:
- La Torre Roja está junto a la zona inicial — el camino cuesta arriba empieza justo enfrente del gimnasio que atraviesas temprano, y el juego te empuja hacia ella justo después del puente rojo.
- Sus cinco puzzles son de dificultad de inicio del juego, resolubles con herramientas básicas que ya tienes.
- Su recompensa — el mapa, la brújula y el diorama — se compone a lo largo de toda la campaña, porque toda búsqueda de puzzles posterior se beneficia de saber realmente dónde estás.
- La ruta alternativa a la alfabetización en coordenadas, el GPS cerca de la torre verde, llega más tarde en el progreso que el mapa.
El recorrido de PC Gamer del 4166 1899 hace el mismo punto desde el lado del puzzle: los grupos que llegan al puzzle numérico antes de hacer "cinco otros puzzles y la torre roja" simplemente no pueden resolverlo todavía. Torre Roja primero, y ese muro nunca aparece.
Preguntas frecuentes
¿Dónde está la Torre Roja en Big Walk?
Directamente enfrente del gimnasio que atraviesas después de la zona inicial — toma el camino cuesta arriba y llegarás. Es la torre con forma de cono invertido, y el juego te empuja hacia ella justo después de cruzar el puente rojo.
¿Cuántos puzzles se necesitan para la Torre Roja en Big Walk?
Cinco puzzles cercanos. Desde la cima de la torre puedes ver las cinco ubicaciones hacia la costa: el Laberinto Amarillo, la Sala del Botón Verde, el Cañón con Temporizador de la Estación de Tren, la Cancha de Básquetbol y el puzzle de Gestos del Mirador de la Montaña.
¿Qué desbloquea la Torre Roja?
La Sala de Mapas (un diorama completo de la isla con banderas de contenido completado), un mapa plegable, una brújula, y el logro/trofeo Big View por abrir la sala.
¿Cómo desbloqueas la Sala de Mapas en Big Walk?
Deposita las cinco recompensas de puzzle de la Torre Roja en su terminal superior, toma la llave, límala en los cinco artefactos de desbaste entre la entrada de la torre y la zona del gimnasio, y luego usa la llave terminada en la terminal en la cima del túnel azul con escaleras rojas.
¿Cómo consigues el mapa en Big Walk?
Completa la Torre Roja — cinco puzzles cercanos, cinco recompensas de puzzle depositadas — y desbloquea su Sala de Mapas. El mapa plegable espera en un banco adentro, junto a la brújula.
¿Dónde consigues la brújula en Big Walk?
En el mismo banco que el mapa plegable, dentro de la Sala de Mapas que abre la Torre Roja.
¿Deberías completar la Torre Roja primero?
El juego permite cualquier orden de torres, así que no — pero está fuertemente recomendada temprano. Está junto a la zona inicial, sus puzzles son suaves, y su recompensa de mapa y brújula ayuda a toda exploración que siga.
¿Para qué son los cinco objetos rojos?
Cada uno es una recompensa de puzzle de uno de los cinco puzzles de la Torre Roja. La terminal superior de la torre toma los cinco y libera la llave que lleva a la Sala de Mapas.
¿Necesitas el mapa para el puzzle 4166 1899?
No estrictamente — el GPS cerca de la torre verde también lo resuelve — pero el mapa es la ruta más temprana y fácil, y la solución de PC Gamer trata la completación de la Torre Roja como el prerrequisito natural.
Fuentes
- GameRant — Big Walk Red Tower Solution & Map Location (Big View Trophy) por Ayyoun Ali, 4 de agosto de 2026
- PC Gamer — Big Walk: So, what's the deal with that number puzzle? por Christopher Livingston, 8 de agosto de 2026
- Press kit oficial de Big Walk — bigwalk.game/presskit (solo antecedentes sobre el juego cooperativo y las herramientas)
- Reddit — r/BigWalk guides roundup (encuadre de guía comunitaria; no se pudo volver a consultar directamente)
TEMAS DE BIG WALK RELACIONADOS
Estas páginas relacionadas completan el panorama:
Puzzle 4166 1899
4166 y 1899 no son un código: son coordenadas que apuntan a un botón oculto. Resuélvelo con el mapa o el GPS.
GID-03Mapa
Una isla de mundo abierto con monumentos de colores vivos, estructuras de puzzles y torres: sin pantalla de mapa ni marcadores de misiones.
GID-02Todos los puzzles
Resuelve puzzles para conseguir frijoles rojos y calabazas, deposítalos en las torres para obtener llaves y desbloquea áreas nuevas como el tren y el teleférico.